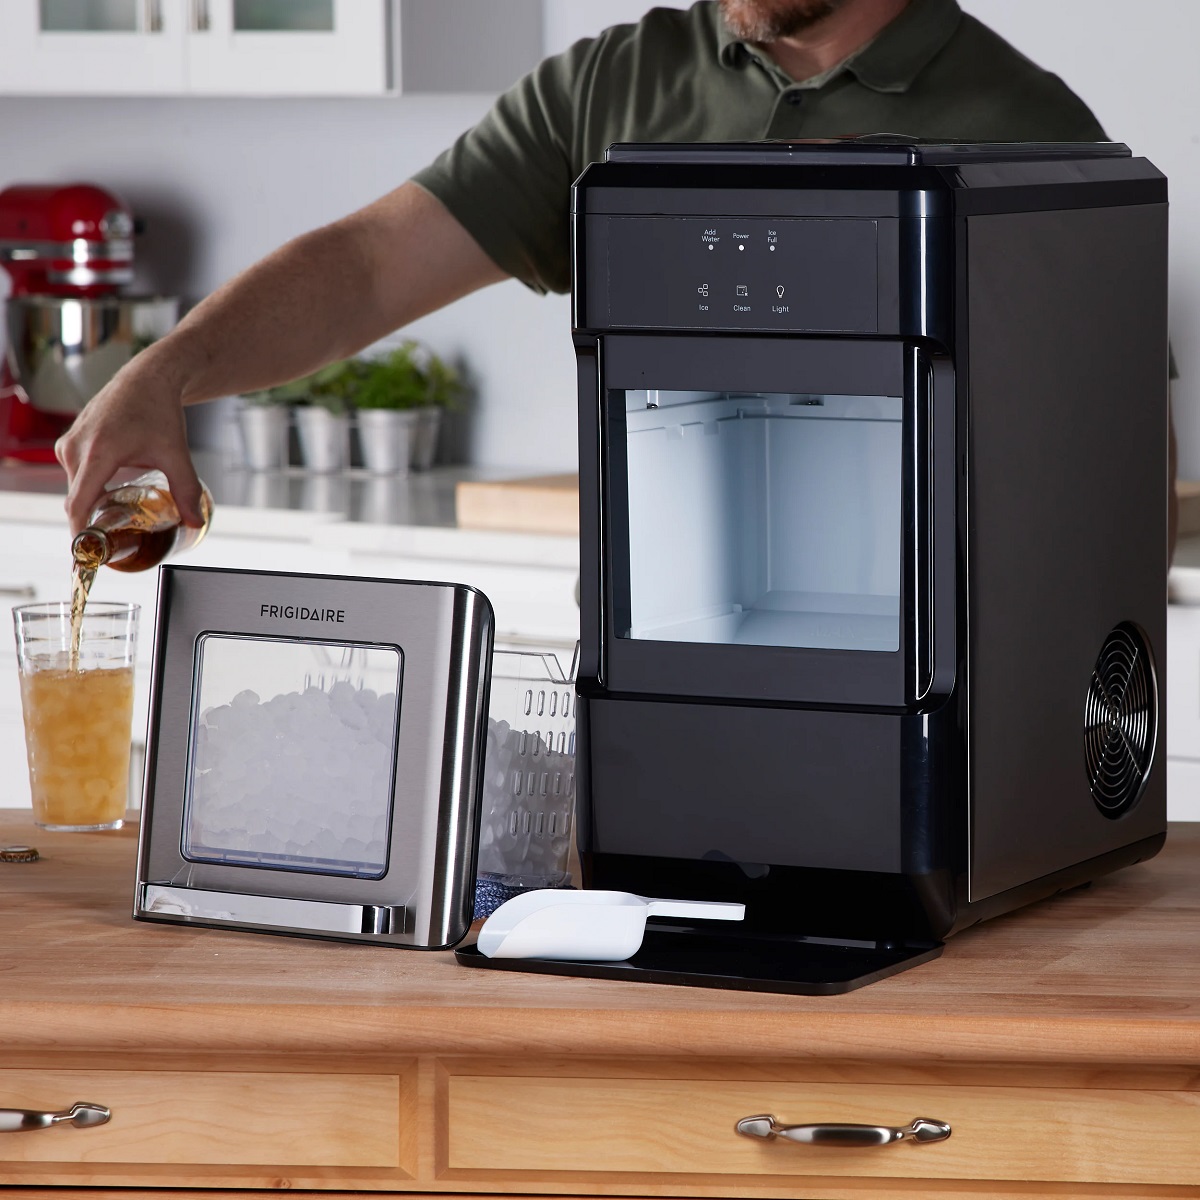
Why does your Ionchill ice maker need regular cleaning?
Ionchill ice makers are designed to make life easier, but like any appliance that uses water, they can collect mineral deposits and mold if not maintained properly. You might not notice it at first, but over time, buildup inside the machine can affect the taste of your ice, the efficiency of ice production, and even the lifespan of your unit.
Think of it this way: if you use your ice maker every day, water is constantly running through it. That means minerals from your tap water—like calcium and lime—can accumulate in the inner tubing and around the ice tray. Left unchecked, these deposits can clog the water flow, leading to slower or incomplete ice cycles. On top of that, moisture and darkness create the perfect environment for mold and bacteria to grow.
So, cleaning your Ionchill ice maker isn’t just about looks—it’s about keeping the machine functioning like new and ensuring the ice you use in your drinks is as clean as possible. A little maintenance now can prevent bigger issues later, keeping your unit reliable and your ice tasting fresh.
How often should you clean your Ionchill ice maker?
So, how often do you really need to clean your Ionchill ice maker? Well, it really depends on how often you use it and the quality of your water. If you're using it every day, especially in areas with hard water, you'll want to clean it more frequently than if you only use it occasionally.
Generally speaking, a good rule of thumb is to give your Ionchill ice maker a full cleaning at least once a week. That might sound like a lot, but the process doesn’t take long once you get into a routine. If your water has a higher mineral content, you might even consider cleaning it every three days to keep buildup at bay.
Of course, you don’t need to deep clean every time. Wiping down the exterior, rinsing the ice bin, and checking for any visible buildup can help you spot problems early. And remember, regular cleaning not only keeps your ice maker working better, it also helps prevent unexpected malfunctions that could leave you without ice when you need it most.
- Londonsway Net Worth
- Bald Black Male Actors
- Christie Sides Is She Married
- Dr Juan Rivera Net Worth
- Hee Haw Cast Salaries
What tools and supplies do you need for Ionchill ice maker self-cleaning instructions?
Before diving into the Ionchill ice maker self-cleaning instructions, make sure you have everything you need on hand. The good news is, you probably already have most of the supplies in your home.
Here’s what you’ll want to gather: a soft cloth or sponge, mild dish soap, white vinegar or a food-safe cleaning solution, rubbing alcohol (for cleaning the evaporator column), and a clean towel for drying. You don’t need any harsh chemicals—your Ionchill is made with materials that respond well to gentle cleaning agents.
Also, don’t forget to unplug the ice maker before you start. Safety first! Once everything is unplugged and cool to the touch, you can begin the cleaning process. Having the right tools ready will make the job much smoother and help you cover every part of the machine effectively.
Do you need special cleaners for your Ionchill ice maker?
Not really. In fact, using strong or abrasive cleaners could actually damage the internal components of your Ionchill ice maker. Stick with mild, non-abrasive cleaners like a simple mix of water and vinegar or a gentle dish soap.
Vinegar is a natural disinfectant and does a great job at dissolving mineral buildup. Mix equal parts water and white vinegar for a safe, effective cleaning solution. For tougher spots, a bit of rubbing alcohol on a cotton swab can help clean around the evaporator column without leaving residue.
Also, make sure any cloths or sponges you use are soft. You don’t want to scratch the interior or exterior surfaces of your machine. A microfiber cloth is ideal for wiping down the outside, while a soft sponge works well for the inside components.
Step-by-step Ionchill ice maker self-cleaning instructions
Cleaning your Ionchill ice maker doesn’t have to be complicated. Just follow these simple steps to keep your machine in great condition without any hassle.
Step 1: Unplug and empty the machine
Before anything else, make sure your Ionchill ice maker is unplugged and that there’s no power running to it. Then, empty out any ice that’s still in the bin. If there are ice cubes stuck in place, let them melt a bit before trying to remove them to avoid damaging the unit.
Step 2: Remove and clean the ice bin and lid
Take off the ice bin and lid if they’re removable. Wash them separately with warm, soapy water. Rinse thoroughly and dry them with a soft cloth before putting them back in place. This helps prevent mold and keeps your ice tasting fresh.
Step 3: Wipe down the interior
Use a soft cloth or sponge dipped in your cleaning solution to wipe down the inside of the ice maker. Pay extra attention to corners and crevices where mold or mineral deposits might build up. If you notice any stubborn spots, a gentle scrub with a toothbrush can help loosen them up.
Step 4: Clean the evaporator column
Use a cotton swab dipped in rubbing alcohol to clean around the evaporator column. This helps remove any lingering debris or mineral buildup that could interfere with ice production. Be careful not to push too hard—you just want to wipe away any residue.
Step 5: Wipe down the exterior and control panel
Give the outside of your Ionchill ice maker a quick wipe with a damp cloth. Don’t forget to clean the control panel, as dust and fingerprints can accumulate there. A slightly damp cloth works best—avoid spraying water directly onto the unit.
Step 6: Dry and plug back in
Once everything is cleaned, use a clean towel to dry the interior and exterior. Make sure all parts are completely dry before plugging the machine back in. Let it sit for a few minutes before turning it on to allow any residual moisture to evaporate.
How to prevent mold and buildup between cleanings
Once you’ve followed the Ionchill ice maker self-cleaning instructions, keeping it clean moving forward becomes much easier. A few simple habits can help reduce the chances of mold and mineral buildup returning between deep cleanings.
For starters, always keep the lid closed when the machine isn’t in use. This helps prevent dust and debris from getting inside. Also, if you're not using the ice maker for a few days, empty out the ice bin and give the interior a quick wipe-down before storing it.
Using filtered or bottled water can also help reduce mineral buildup over time. While it might seem like a small change, the difference in water quality can have a big impact on how often you need to clean your unit. And if you live in an area with particularly hard water, you might want to consider using a water softener or a filtered pitcher for the water you put into your ice maker.
Finally, check the machine every couple of days for any signs of moisture buildup or mildew. If you notice any musty smells or visible mold, give it a quick clean with a vinegar solution to keep things under control.
Where should you place your Ionchill ice maker to make cleaning easier?
Believe it or not, where you place your Ionchill ice maker can affect how easy it is to clean and maintain. A well-ventilated space with plenty of room around the unit helps prevent moisture buildup and makes it easier to reach all sides for cleaning.
Avoid placing the ice maker directly next to a wall or in a tight corner. Ideally, you should leave at least four inches of space behind it to allow for proper airflow. This helps prevent condensation from forming around the back of the unit and makes it easier to unplug and move the machine when it’s time to clean it.
Also, keep your Ionchill ice maker out of direct sunlight. Too much exposure to heat can cause the machine to work harder and may even speed up the growth of mold or bacteria. A cool, shaded spot in your kitchen or wherever you keep your ice maker is your best bet for long-term performance.
Can you use your Ionchill ice maker outdoors?
While it might be tempting to bring your Ionchill ice maker outside for a summer party or backyard get-together, it's generally not recommended. These machines are designed for indoor use, and exposing them to outdoor conditions can affect their performance and longevity.
Humidity, dust, and temperature fluctuations outside can cause condensation inside the machine, leading to mold growth or mechanical issues. Plus, there’s always the risk of water spills or exposure to rain, which could damage the electrical components.
If you do want to use your Ionchill ice maker outdoors for a short period of time, make sure it stays under a covered area and never gets wet. Even then, it's best to use it indoors for consistent performance and easier maintenance. After all, you want your ice maker to last, and keeping it in a controlled environment is the best way to ensure that happens.
What to do if your Ionchill ice maker starts smelling or producing off-tasting ice
If you notice a strange smell or taste coming from your ice, it’s a clear sign that it’s time for a thorough cleaning. Often, this is caused by mold, bacteria, or mineral buildup that’s been left unchecked for too long.
Start by giving the machine a deep clean using the Ionchill ice maker self-cleaning instructions outlined earlier. Use a vinegar and water solution to wipe down the interior and eliminate any lingering odors. If the smell persists, you might want to run a few cycles with just clean water to flush out any remaining traces of the cleaning solution.
You can also try placing a small bowl of activated charcoal or baking soda inside the ice bin when the machine isn’t in use. These natural odor absorbers can help keep things smelling fresh between cleanings. Just make sure to replace or refresh them regularly for best results.
Summary
Cleaning your Ionchill ice maker is a simple but important task that ensures your machine runs efficiently and your ice stays fresh. By following the Ionchill ice maker self-cleaning instructions, you’ll avoid mineral buildup, mold growth, and unpleasant odors. Regular cleaning—ideally once a week or more often in areas with hard water—keeps your machine performing like new.
Using gentle cleaning agents like vinegar and mild dish soap helps protect your unit from damage, while proper placement and maintenance habits reduce the chances of mold returning between cleanings. Avoid using harsh chemicals or abrasive tools, and always unplug the machine before cleaning.
Whether you use your Ionchill ice maker daily or only on special occasions, staying on top of maintenance helps extend its lifespan and keeps your ice tasting clean. With just a little effort, you can enjoy hassle-free ice making without the worry of buildup or unwanted smells.


Detail Author:
- Name : Mrs. Anastasia Prohaska
- Username : ywiza
- Email : lind.sierra@gmail.com
- Birthdate : 2005-12-31
- Address : 11185 Adams Roads Apt. 036 Orionport, ND 66919-1503
- Phone : (757) 976-8953
- Company : Zulauf-Lakin
- Job : Aircraft Structure Assemblers
- Bio : Molestias doloribus qui fugit similique possimus sit. Ut consectetur dolore dolorem et aperiam ea. Voluptatem eos sit hic nulla quia ut. Veritatis sunt facilis consequatur et reprehenderit nemo a.
Socials
linkedin:
- url : https://linkedin.com/in/adelle805
- username : adelle805
- bio : Sunt asperiores ut quis ut enim labore neque.
- followers : 2680
- following : 2622
tiktok:
- url : https://tiktok.com/@adelle.jerde
- username : adelle.jerde
- bio : Qui necessitatibus aut illo quis similique architecto eos sint.
- followers : 2154
- following : 1385
instagram:
- url : https://instagram.com/adellejerde
- username : adellejerde
- bio : Sunt eaque distinctio omnis voluptas. Iste porro sunt eos quia qui qui et. Porro aut et saepe qui.
- followers : 2391
- following : 2573
twitter:
- url : https://twitter.com/adelle_id
- username : adelle_id
- bio : Laudantium eaque et rerum sunt quibusdam. Quia omnis recusandae eaque tempora minus. Repudiandae est possimus dolorum nisi soluta.
- followers : 6224
- following : 1589
