Have you ever wanted to bring a splash of festive flair into your home decor or party setup but didn’t know where to start? Papel picado — those delicate, colorful banners with intricate cut-out patterns — might just be the answer. And if you’ve got a Cricut machine, you’re already halfway there. This isn’t just about making paper decorations; it’s about creating something that feels personal, cultural, and deeply expressive. Whether you’re prepping for a birthday, Día de los Muertos, or just want to add some vibrant energy to your space, papel picado made with a Cricut machine opens up a whole world of creative possibilities.
For those unfamiliar, papel picado is a traditional Mexican craft that’s often seen fluttering above celebrations. It’s beautiful, it’s meaningful, and it’s surprisingly easy to make at home — especially when you’ve got a Cricut to help out. You don’t need to be a seasoned crafter or an expert in design software. With a few materials, a bit of creativity, and your Cricut machine, you can make stunning banners that look like they came straight from a professional artisan.
So, whether you're a Cricut newbie or a seasoned maker, this guide will walk you through everything you need to know to bring papel picado into your crafting routine. From design tips to cutting settings and even creative display ideas, we’ve got you covered. Let’s turn those blank sheets of paper into something magical, shall we?
- Post Malone Mixed
- Nick Names Starting With M
- Shacarri Richardson Husband
- Jordan Poole Gf
- Celebrities With Cleft
What is papel picado and why is it so popular?
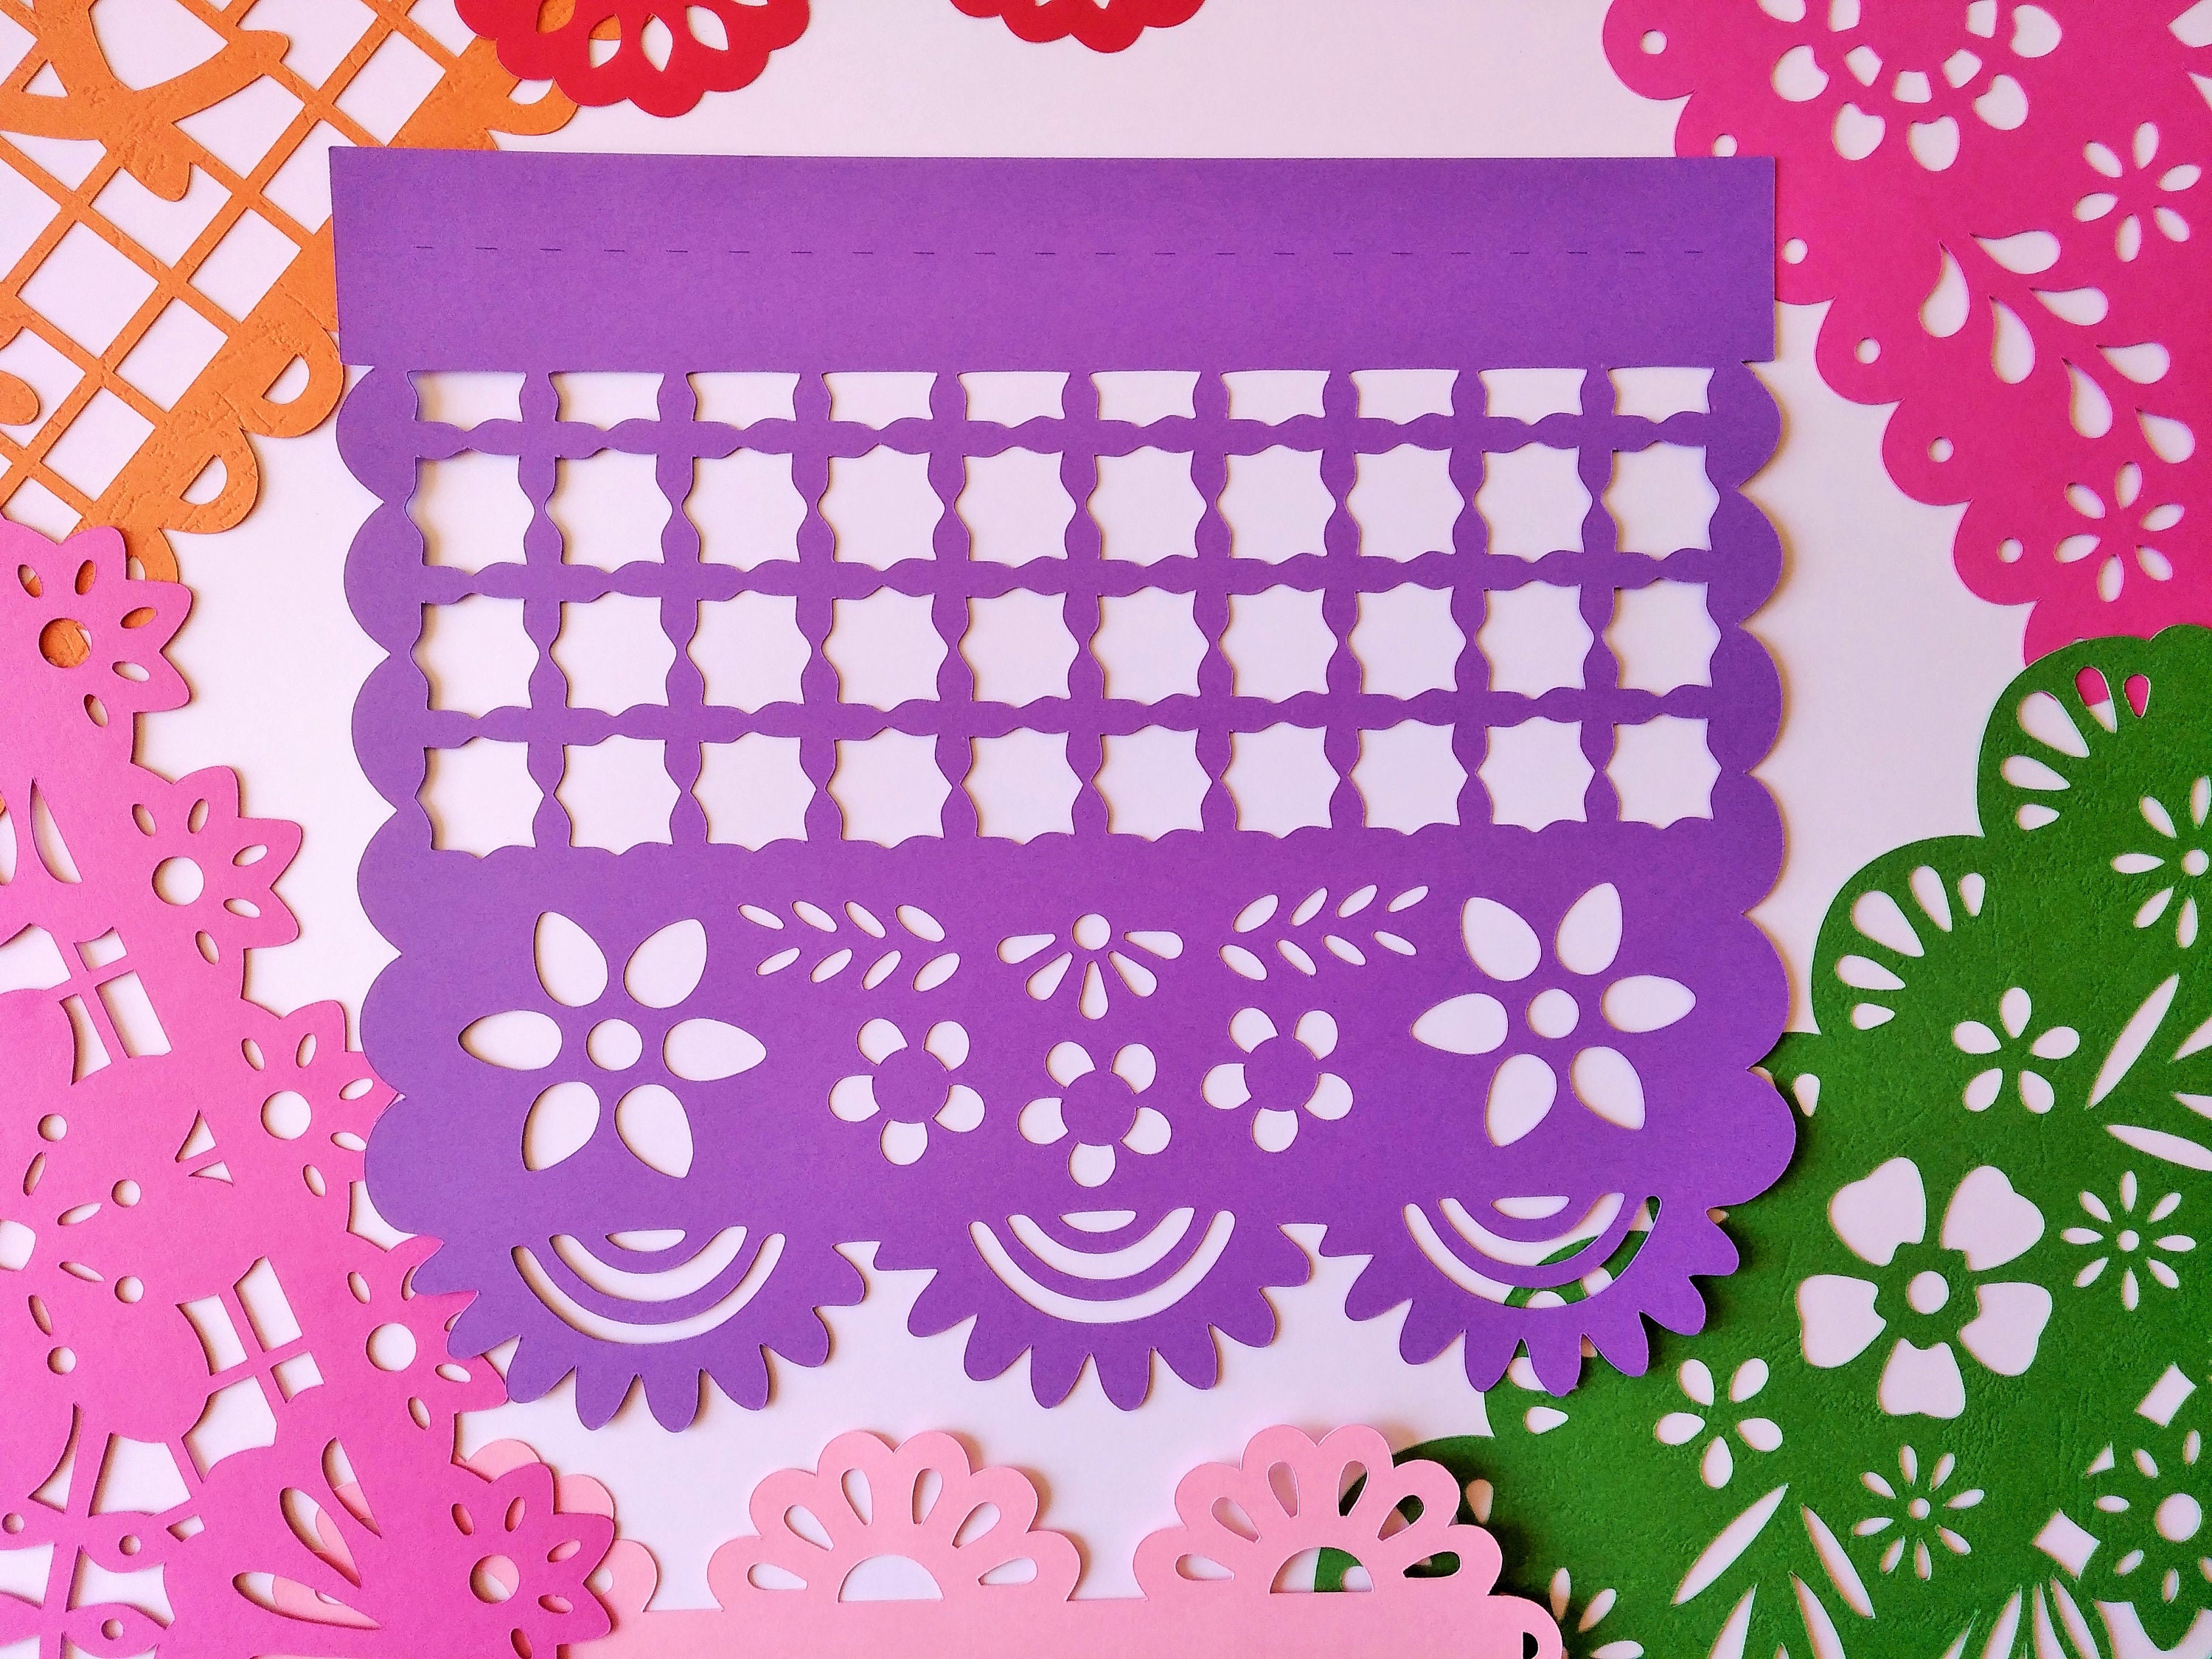
So what exactly is papel picado? It's those delicate paper banners with intricate patterns, often made from tissue paper or foil. Traditionally used in Mexican celebrations like Día de los Muertos, they’ve become a go-to decor item for weddings, birthdays, and even home interiors. The thing is, there’s just something about those fluttering cut-outs in the breeze that instantly adds life and movement to any space.
You might be wondering, why use a Cricut for papel picado? Well, hand-cutting these designs can take forever, especially if you’re making multiple panels. With a Cricut machine, you can replicate complex patterns with precision and consistency — and do it way faster than with scissors alone. Plus, you can customize every single piece to match your theme or color scheme, which is a big plus if you're into personalized decor.
Can I make papel picado without a Cricut machine?
Of course, you can — and many people still do it the traditional way, using stencils and punches. But here’s the thing: a Cricut opens up so many more design options. You can play with different shapes, fonts, and even layer colors to create depth and dimension. The machine does the heavy lifting, so you can focus on the creative part — like choosing which colors pop best together or how to arrange your banners for maximum impact.
- Jude Bellingham Ethnicity
- Helen Reddy Net Worth
- Is Melissa O Neil Married
- Husband Lauren Daigle
- Norm Abrams Weight Loss
Also, if you're making a lot of papel picado — like for a big event or multiple parties — the time you save using a Cricut is definitely worth it. It’s a bit of an investment upfront, but once you start seeing how much more you can create, you’ll probably wonder how you ever managed without it.
What materials do I need for papel picado with a Cricut?
If you already have a Cricut, you're off to a great start. But there are a few other things you’ll need to make papel picado. First, the paper. Tissue paper works best because it’s lightweight and lets the light shine through when you hang it up. You can also use foil paper for a more festive, shiny look. Just make sure it’s not too thick — otherwise, your machine might struggle to cut through it.
You’ll also need transfer tape or a weeding tool to help you peel away the cut-out parts. And of course, a design file! There are tons of free and paid papel picado templates out there, or you can design your own in Cricut Design Space. Once everything’s cut, you’ll need some string or twine to hang your banners, and maybe a little glue or double-sided tape to attach the cut paper to the string.
Do I need special settings for cutting papel picado designs?
Yes, and it’s something a lot of people overlook. Because tissue paper is so thin and delicate, you’ll want to adjust your Cricut settings accordingly. For example, using a lighter pressure and a slower speed helps prevent tearing. Some machines even have specific settings for delicate materials like foil or tissue.
You might also want to try using a light grip mat, especially if you're working with very thin paper. It holds the paper in place without making it stick too aggressively, which helps with clean cuts and easy weeding. It’s worth playing around with different settings to see what works best for your particular machine and paper type.
How do I design my own papel picado patterns?
Designing your own papel picado patterns is one of the best parts of using a Cricut. You can go with traditional motifs like skulls, flowers, and geometric shapes, or get creative with letters, animals, or anything that reflects your style. The key is to keep the design balanced — too many cuts can weaken the paper, making it more likely to tear when you hang it up.
In Cricut Design Space, you can combine shapes, text, and images to create custom designs. Just make sure your cuts aren’t too close together — a little spacing between them makes the paper stronger and easier to handle. You can also layer different colors for a more dynamic look. For example, cut a black skull from one sheet and layer it over a bright pink background for a fun, contrasting effect.
Can I reuse the same design for different events?
Absolutely. That’s the beauty of digital designs — once you’ve created one, you can tweak it for different occasions. Swap out skulls for hearts around Valentine’s Day or stars for the 4th of July. Just change the colors and maybe a few design elements, and you’ve got a whole new look without starting from scratch.
You can even save your favorite designs in folders for quick access later. This way, you don’t have to keep recreating the same shapes every time. Just pull up the file, adjust a few settings, and you’re good to go. It’s a real time-saver, especially if you find yourself making papel picado often.
What are some creative ways to display papel picado?
Once you’ve made your papel picado banners, the next step is figuring out how to display them. The classic way is to string them up across a wall or window, letting them catch the light and flutter in the breeze. But there are so many other creative options too. You can wrap them around balloons, hang them from a chandelier, or even drape them over furniture to add a festive touch.
For a more dimensional look, try layering multiple banners at different heights. You can also make smaller versions and use them as table runners or centerpieces. Some people even glue individual cut-outs onto cards or gift wrap for a personalized touch. The sky really is the limit here — it’s all about how creative you want to get.
Can I make papel picado in different sizes and shapes?
You sure can. While traditional papel picado banners are usually rectangular, there’s no rule saying they have to be. You can make triangular, circular, or even heart-shaped pieces if you’re going for a specific theme. Just adjust your design file accordingly and let the Cricut do the rest.
Also, if you’re making something for a small space, like a mantel or a shelf, you can go with mini banners instead of long ones. They still pack a punch in terms of visual appeal but are easier to store and handle. Plus, they’re perfect for creating a cohesive look without overwhelming the room.
How do I store papel picado after use?
Storing papel picado can be a bit tricky because the paper is so delicate. The best way is to carefully roll it up and place it in a cardboard tube or a large ziplock bag. Avoid folding it, as that can cause creases and even tears. If you’ve used string, you can leave it attached and just roll everything up together.
It’s also a good idea to keep your papel picado in a dry, cool place. Humidity can make tissue paper sticky and harder to work with later. If you want to keep your banners organized by theme or color, label the tubes or bags so you know what’s inside without having to unroll everything every time.
Can I reuse papel picado for multiple events?
Technically yes, but it really depends on how well you store it and how gently it was handled the first time around. If you take good care of it, you might be able to use the same banners a couple of times. But over time, the paper can get dusty, creased, or torn, especially if you’re handling it a lot.
If you want something more permanent, you could try making papel picado from sturdier materials like vellum or cardstock. They won’t have the same delicate look, but they’ll last much longer and can be reused without worrying about tearing. Just keep in mind that your Cricut settings will need to be adjusted for thicker paper.
What are some common mistakes to avoid when making papel picado with a Cricut?
One of the most common mistakes is using the wrong type of paper. Some people try to use regular printer paper, but it’s too thick and doesn’t give that airy, lightweight look you want. Stick to tissue paper or foil unless you’re experimenting with different textures intentionally.
Another mistake is cutting too many intricate details too close together. This makes the paper fragile and more likely to tear when you’re peeling away the cut-out pieces or hanging it up. It’s better to leave a bit of space between cuts to maintain the integrity of the paper.
Why is my papel picado tearing when I cut it with the Cricut?
This usually happens when the pressure or blade depth is too high. Tissue paper is super thin, so if you don’t adjust your settings accordingly, the blade might be cutting too aggressively. Lowering the pressure or using a lighter blade setting can help prevent this.
Also, make sure your mat is clean. If there’s too much residue from previous projects, the paper might not stick properly, causing it to shift while cutting. A quick wipe with a lint roller can make a big difference in how smoothly your cuts come out.
How can I add a personal touch to my papel picado designs?
If you really want your papel picado to stand out, consider adding personal touches like names, dates, or even inside jokes. You can use Cricut’s text tool to create custom lettering that matches the style of your design. Maybe you’re making banners for a graduation — adding the graduate’s name and year can make it feel more special.
You can also experiment with layering different colors or mixing patterns within the same banner. For example, one panel could be floral, another geometric, and another with lettering — all tied together with a consistent color palette. This adds visual interest and makes your display feel more curated.
Can I use photos or images in my papel picado designs?
Technically, yes, but you’ll want to simplify the image first. Complex photos don’t translate well into cut-out paper designs, especially if you’re using a Cricut. Instead, use the “image trace” tool in Cricut Design Space to convert photos into silhouettes or line art. This gives you a cleaner, more defined image that looks better when cut into paper.
For example, if you want to feature a loved one’s face or a beloved pet, convert the photo into a black silhouette first. Then, you can cut that out and layer it over a contrasting background color for a really unique look. It’s a nice way to add a personal touch that feels meaningful and one-of-a-kind.
Where can I find free papel picado Cricut designs?
There are quite a few places online where you can find free or low-cost papel picado designs. Cricut Access has a whole section dedicated to holiday and celebration decor, including papel picado templates. You can browse by theme — like Halloween, Christmas, or birthdays — and download the files directly into your Design Space.
Also, many craft bloggers and YouTubers share free downloadable designs. Just search for “free papel picado Cricut SVG” and you’ll find tons of options. Some of them even offer editable files, so you can tweak the design to suit your needs without starting from scratch.
Are there paid papel picado Cricut design packs worth investing in?
If you’re planning on making papel picado regularly or for events, investing in a few premium design packs might be worth it. These often come with multiple variations of the same design, so you can mix and match for more visual variety. Some even include coordinating elements like borders, frames, or coordinating cut files you can use for other parts of your decor.
Also, premium designs tend to be more polished and professionally made, with better spacing between cuts and cleaner lines. This makes them easier to cut and weed, which is a big plus if you’re new to using a Cricut. The cost is usually minimal compared to how much time and effort they can save you in the long run.
Can I share my papel picado creations online?
Absolutely. In fact, sharing your projects on social media — especially platforms like Instagram, Pinterest, or TikTok — can be a great way to connect with other crafters and get inspiration. Just make sure to tag any designers or sources if you’re using their templates or designs.
You can also join Cricut and crafting communities online where people share tips, tricks, and even sell or trade designs. These groups are super supportive and can be a wealth of information, especially if you’re still getting the hang of things. Plus, seeing other people’s work can spark new ideas and push you to try new techniques.
Should I sell my papel picado Cricut creations?
If you’re making a lot of banners and enjoy the process, selling your creations could be a fun side hustle. You can list them on Etsy or at local craft fairs. Just be sure to check the licensing of any designs you use — some free or paid files have restrictions on commercial use.
You’ll also want to factor in the cost of materials and your time when pricing your items. It’s easy to underestimate how much time goes into cutting, assembling, and packaging each banner. But if you love the craft and enjoy the process, it can definitely be a rewarding way to turn your hobby into something more.
What are some tips for beginners making papel picado with a Cricut?
If you're just getting started, here are a few quick tips to make the process smoother: Start with simple designs before diving into complex ones. Use high-quality tissue paper to avoid tearing. Adjust your machine settings for delicate materials. And don’t rush the weeding process — take your time to gently peel away the cut-out parts without damaging the rest of the paper.
You might also want to practice on scrap paper before cutting your final design. This helps you fine-tune your settings and get a feel for how the paper behaves with your machine. And most importantly, have fun with it. Papel picado is all about expression and celebration — so don’t worry too much about perfection. It’s the little imperfections that make handmade pieces feel personal and alive.
How can I improve my papel picado skills over time?
Like any craft, the more you make, the better you’ll get. Try experimenting with different colors, patterns, and display methods. You can also challenge yourself to create themed banners for different holidays or events. Joining online crafting communities or watching tutorials can also help you pick up new techniques and stay inspired.
And if something doesn’t go quite right — like a torn banner or a misaligned cut — don’t stress too much about it. It happens to everyone. The key is to learn from it and keep going. Before you know it, you’ll be cranking out papel picado like a pro and adding that festive flair to every occasion you celebrate.


Detail Author:
- Name : Elvera Kutch IV
- Username : tsimonis
- Email : roxane.predovic@boehm.com
- Birthdate : 1978-04-01
- Address : 4475 Donavon Summit Suite 499 Lake Joeton, KY 95391
- Phone : +1-430-979-2978
- Company : Schmitt, Ondricka and Sanford
- Job : Crane and Tower Operator
- Bio : Est doloremque rerum deserunt assumenda. Eligendi dolor sunt repudiandae voluptatem quod. Quas voluptatum exercitationem unde quibusdam. Et et nihil laborum quae aut quasi vero expedita.
Socials
linkedin:
- url : https://linkedin.com/in/elowe
- username : elowe
- bio : Molestiae molestiae optio autem cum dolor animi.
- followers : 5500
- following : 595
twitter:
- url : https://twitter.com/elowe
- username : elowe
- bio : Quo dolores molestias commodi non modi vitae et. Esse dolorum exercitationem unde unde ullam eum.
- followers : 948
- following : 1938
tiktok:
- url : https://tiktok.com/@emelia9924
- username : emelia9924
- bio : Error autem iusto libero voluptatibus nostrum illum.
- followers : 2364
- following : 2621
instagram:
- url : https://instagram.com/emelia_lowe
- username : emelia_lowe
- bio : Est maiores qui dolores et qui. Unde quia et expedita et reiciendis rerum adipisci enim.
- followers : 6152
- following : 1010
facebook:
- url : https://facebook.com/lowe1970
- username : lowe1970
- bio : Aut non totam voluptatem laudantium enim.
- followers : 415
- following : 129
